Start with a photo that already looks like the opening frame you want. Give it one clear action and one camera direction, then review the result before adding more complexity.
A photograph gives you a scene. A video needs something to happen inside it. The useful starting question is not “How do I make this cinematic?” It is “What should move, and what should stay still?” A person can turn toward the camera. A curtain can lift in the breeze. A camera can move slowly toward a product. Each is a complete idea for a short shot.
This guide gives you a practical planning workflow, three original prompts, and a review sheet. It is not a claim that every model supports the same controls. Choose an image-to-video option that accepts your reference, and check the available settings before you generate.
1. Choose a photo that can become a first frame
Look at the image as a director would look at the beginning of a shot. Is the person already framed at the right distance? Is the product fully visible? Is there space for the movement you want? If someone needs to raise a hand, a tight face crop leaves little room to show the gesture. Solve the framing before asking the model to invent missing parts of the scene.
- Portrait: choose a sharp face, clean separation from the background, and enough room above the head.
- Product: keep the important shape, label, and contact with the surface visible.
- Landscape: decide whether water, foliage, clouds, or the camera should provide the movement.
- For any subject: remove accidental crops and obvious defects before generating. Use a photo you have permission to use.
Runway’s image-to-video documentation describes the input image as the source of the composition and visual appearance, while the text directs motion. That is a useful division of work for planning a shot: establish the look in the photo and explain the change in the prompt.
2. Describe a small, observable action
Write a sentence that someone could act out. “Looks confident” gives a mood; “lifts their chin slightly and looks toward the lens” gives a visible action. For a first attempt, select one action that fits naturally with the starting pose. You can build a longer story from several successful shots later.
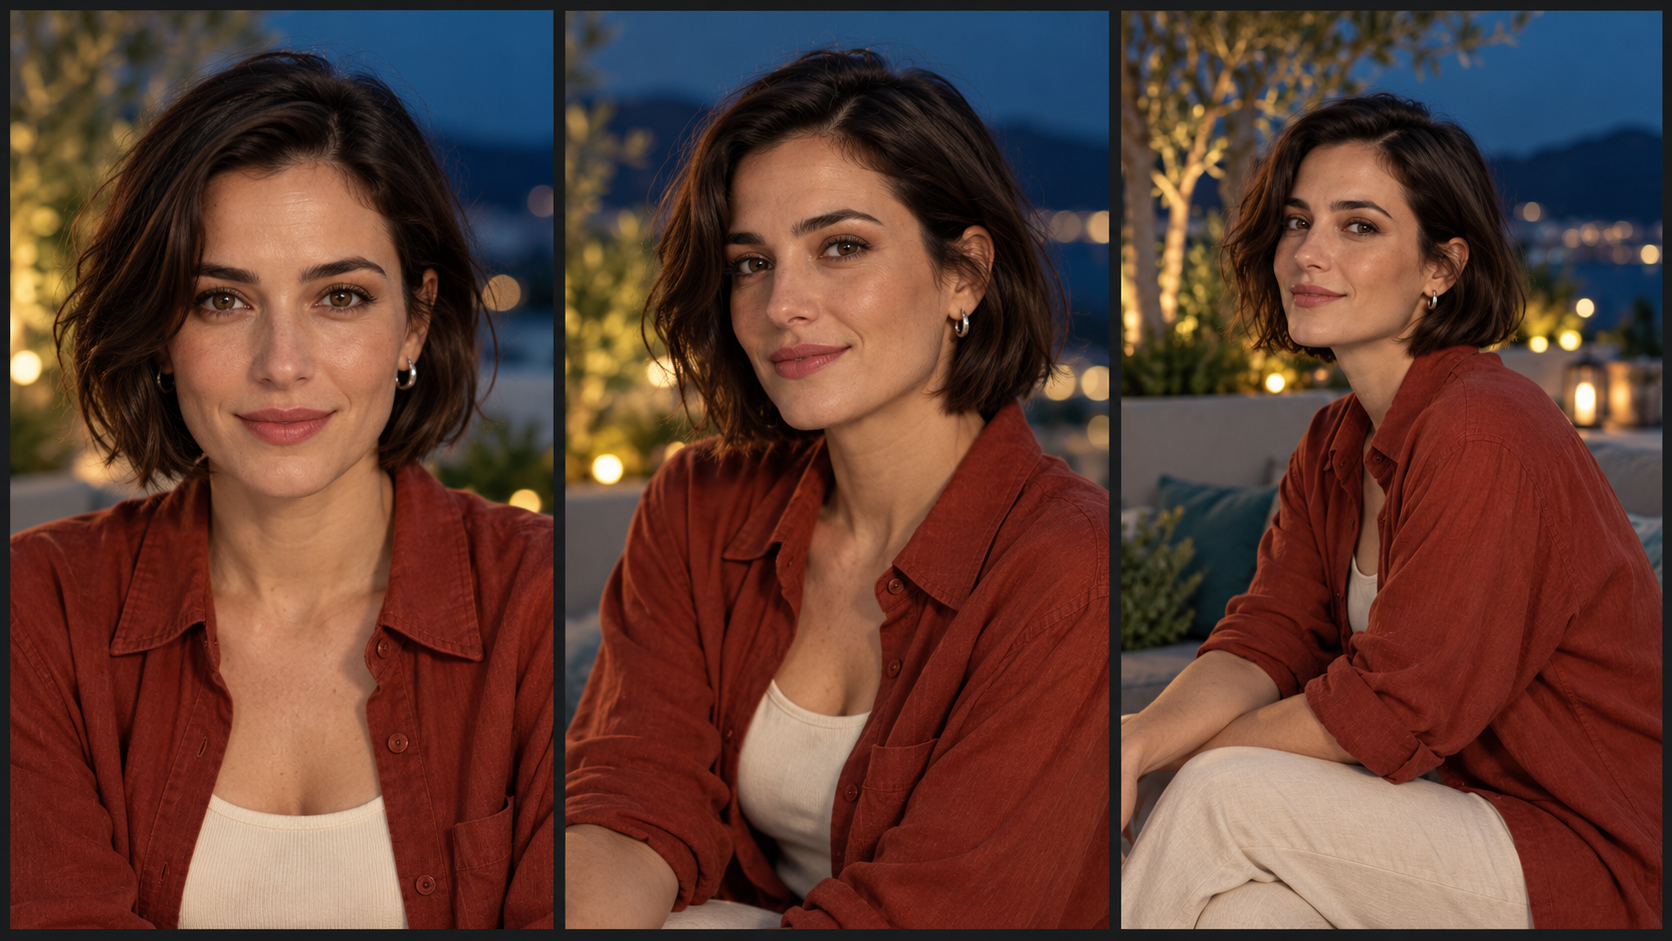
The person looks toward the lens, takes a small breath, and gives a relaxed smile. The camera stays at eye level with a steady medium close-up. Soft daylight remains consistent throughout the continuous shot.
This example asks for a modest change, so you can judge the face without a complicated camera move competing for attention. If the source photo shows a different pose, change the action to fit it instead of asking for an abrupt transition.
3. Decide whether the camera moves
Camera movement changes how viewers read the action. A still camera makes it easier to compare a face or product shape across the shot. A slow move forward creates a reveal. A sideways move needs a scene that makes sense as more of it becomes visible. Choose one direction for the first version and write it in ordinary language.
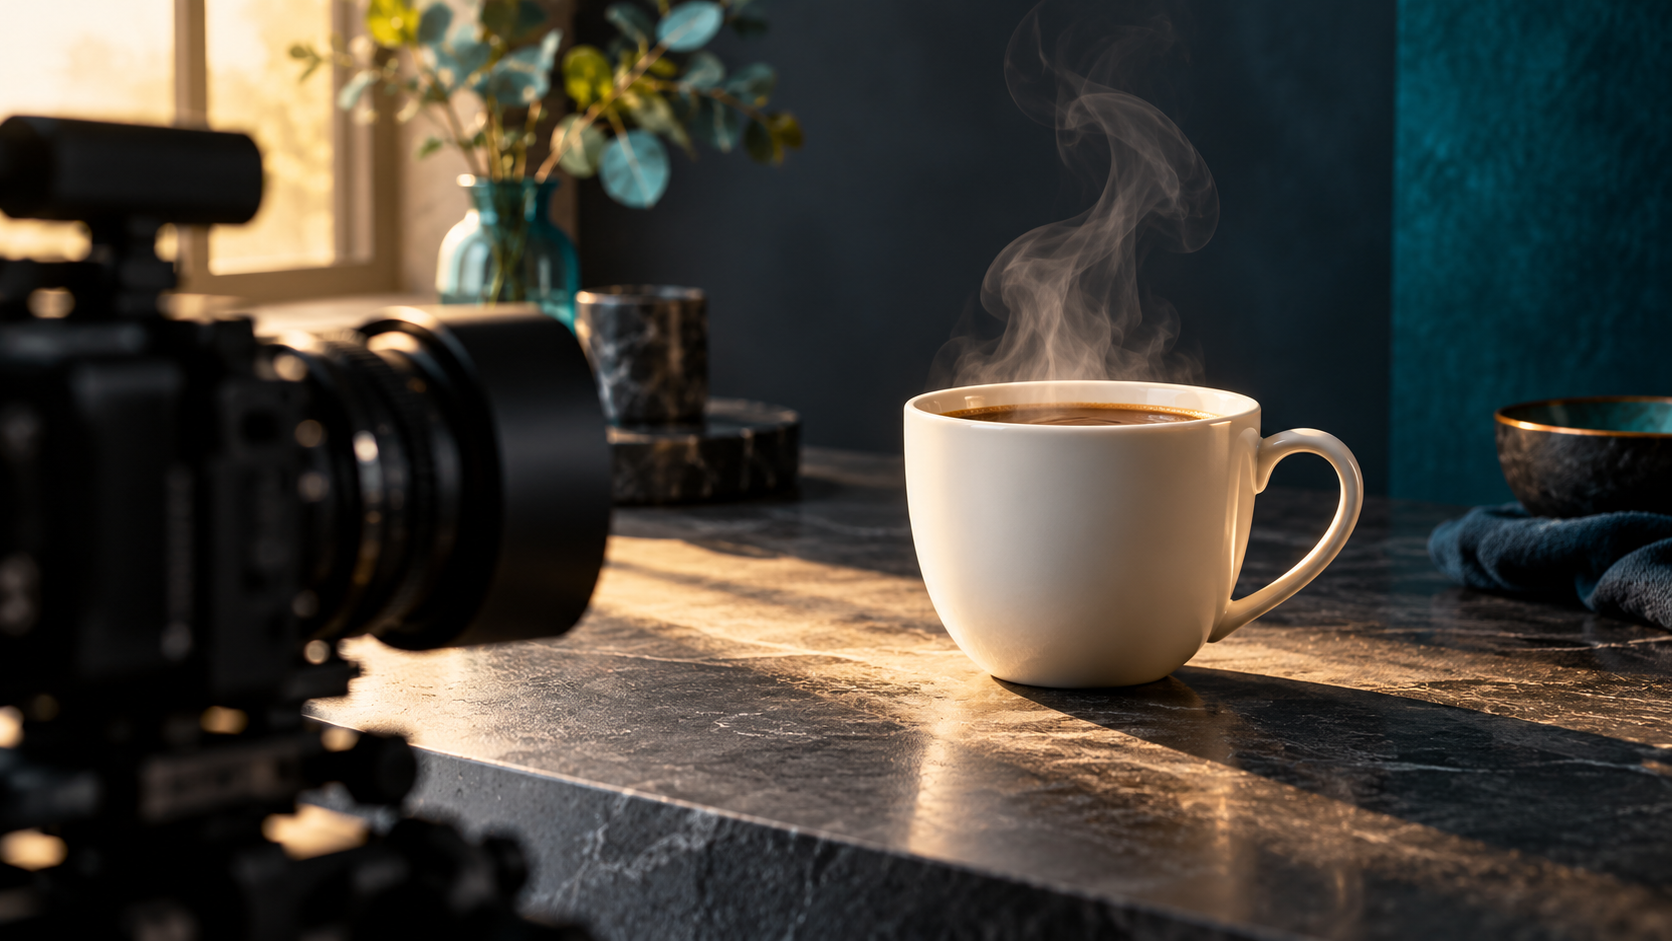
The camera moves slowly closer to the ceramic cup on the table. A thin ribbon of steam rises naturally above it. The cup remains in the same position, with the handle and rim clearly visible. Warm window light and the background stay consistent.
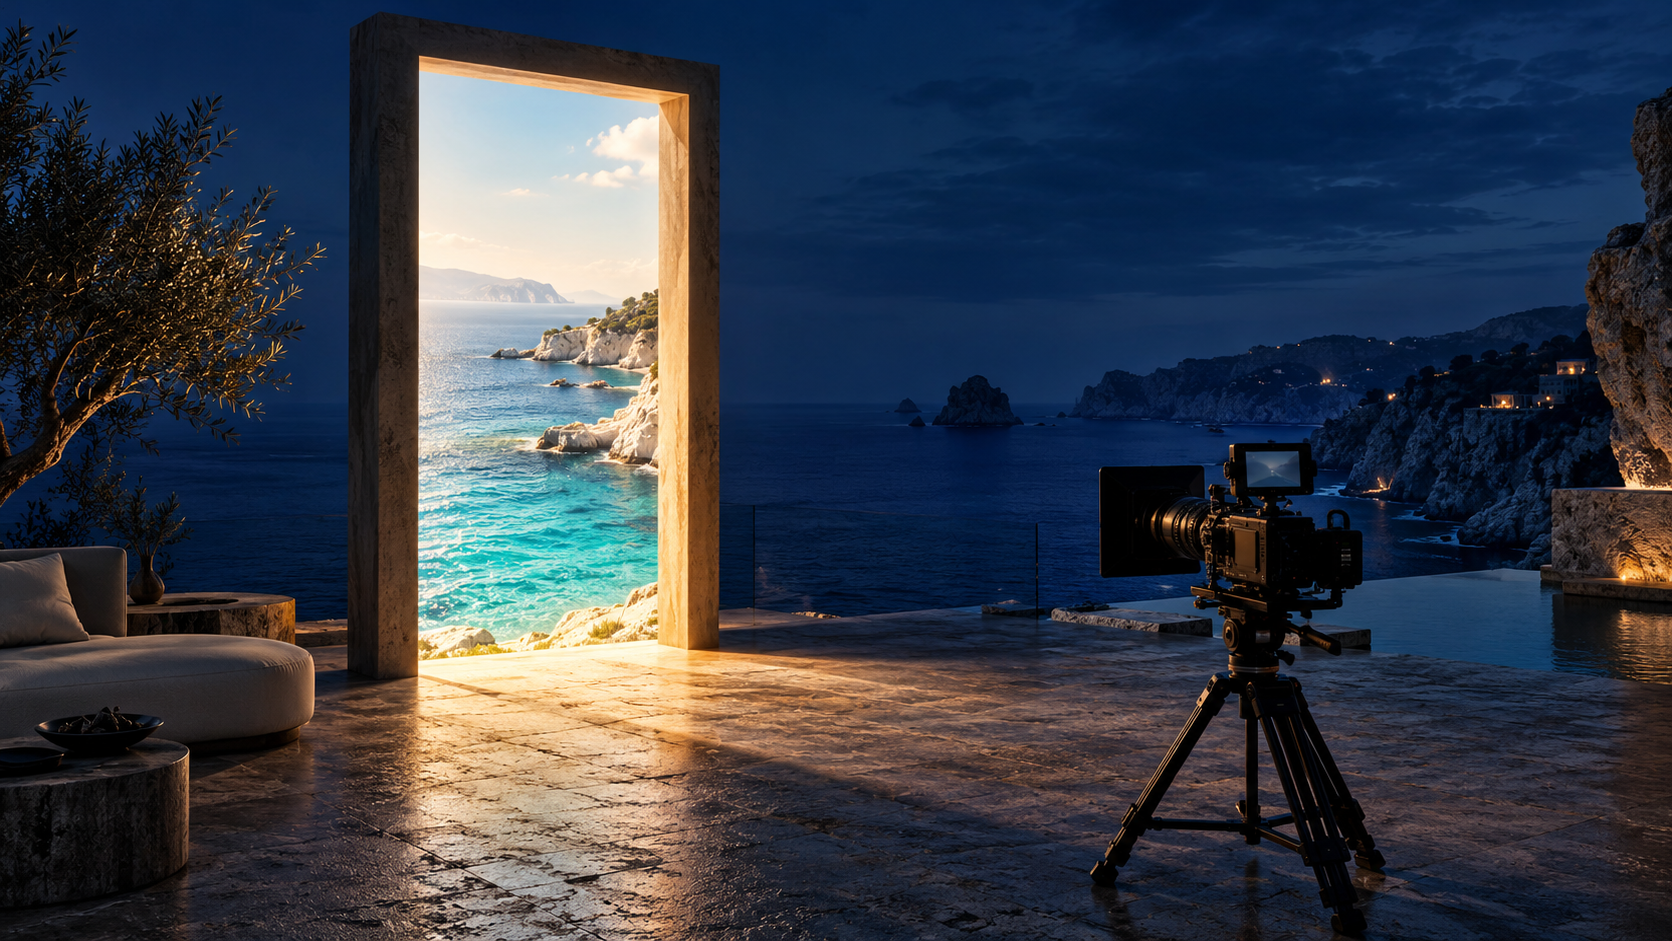
The camera holds a wide view of the coastline. Small waves reach the shore in a gentle rhythm, and the foreground leaves move lightly in the breeze. The distant cliffs remain steady. The scene keeps its soft evening light.
4. Set the output before spending credits
Check the actual options shown by the tool you are using: image support, duration, aspect ratio, resolution, audio, and cost. These can differ by model or plan. A prompt alone does not set a control that the tool requires you to choose elsewhere. For a vertical project, inspect the crop before generating so the subject is not lost at the edges.
Keep your first attempt focused. Write down the exact input photo, prompt, and settings. If you change the image, motion, camera, and duration together, the next result tells you very little about which change helped. A small revision gives you a more useful comparison.
5. Review the beginning, middle, and end
Play the full clip, then pause at several moments. A strong opening can hide a face that changes later or a cup that slowly bends. Choose a result for the complete movement, not only for its first frame.
| Check | What to look for | What to change first |
|---|---|---|
| Subject | The face, silhouette, or product shape stays coherent. | Reduce the movement or use a clearer starting photo. |
| Contact | Feet meet the floor; objects stay on their surfaces. | Simplify the interaction and keep the contact point visible. |
| Camera | The framing follows the direction you intended. | Choose a single camera instruction. |
| Background | Architecture and horizon lines remain believable. | Try a smaller camera move. |
| Ending | The action finishes in a usable frame. | Ask for a clearer final pose or trim the clip. |
A worked example: revise one thing
Imagine that you used the ceramic-cup prompt above and the handle changed shape halfway through the shot. That is a hypothetical review finding, not a result from a test. Before rewriting the whole scene, make a small comparison plan. Keep the same source photo, model, output settings, and steam description; change only the camera instruction.
| Version | Camera instruction | Question to answer |
|---|---|---|
| A · original | The camera moves slowly closer to the cup. | When does the handle first change shape? |
| B · revision | The camera holds a steady view of the cup. | Is the handle more coherent across the full clip? |
Save both clips and record your observations at the beginning, middle, and end. A single pair does not prove what caused a difference: generation can vary between attempts. It does give you a concrete basis for choosing the next version. If both fail at the same detail, inspect the source image and simplify that detail in a separate experiment. Keep the successful shot and its settings together so you can reproduce the brief later.
Build the next shot from what worked
Save the version you would actually use, along with its settings and the reason you chose it. For a small campaign, that note becomes more valuable than a folder of unlabeled generations. You might discover that the portrait works best with a steady camera, while the product benefits from a slow approach. Carry that decision into the next shot.
When you are ready to explore Yanora, check the current creation options and available templates. Use the same shot-planning process with the controls that are available to you. You do not need a complicated scene to make a useful first video; you need a clear beginning and a change worth watching.
Sources & further reading
Primary documentation behind the model-specific guidance:
How we create these guidesPut your creative brief to work.
Explore the current tools and inspiration on Yanora.
Explore Yanora