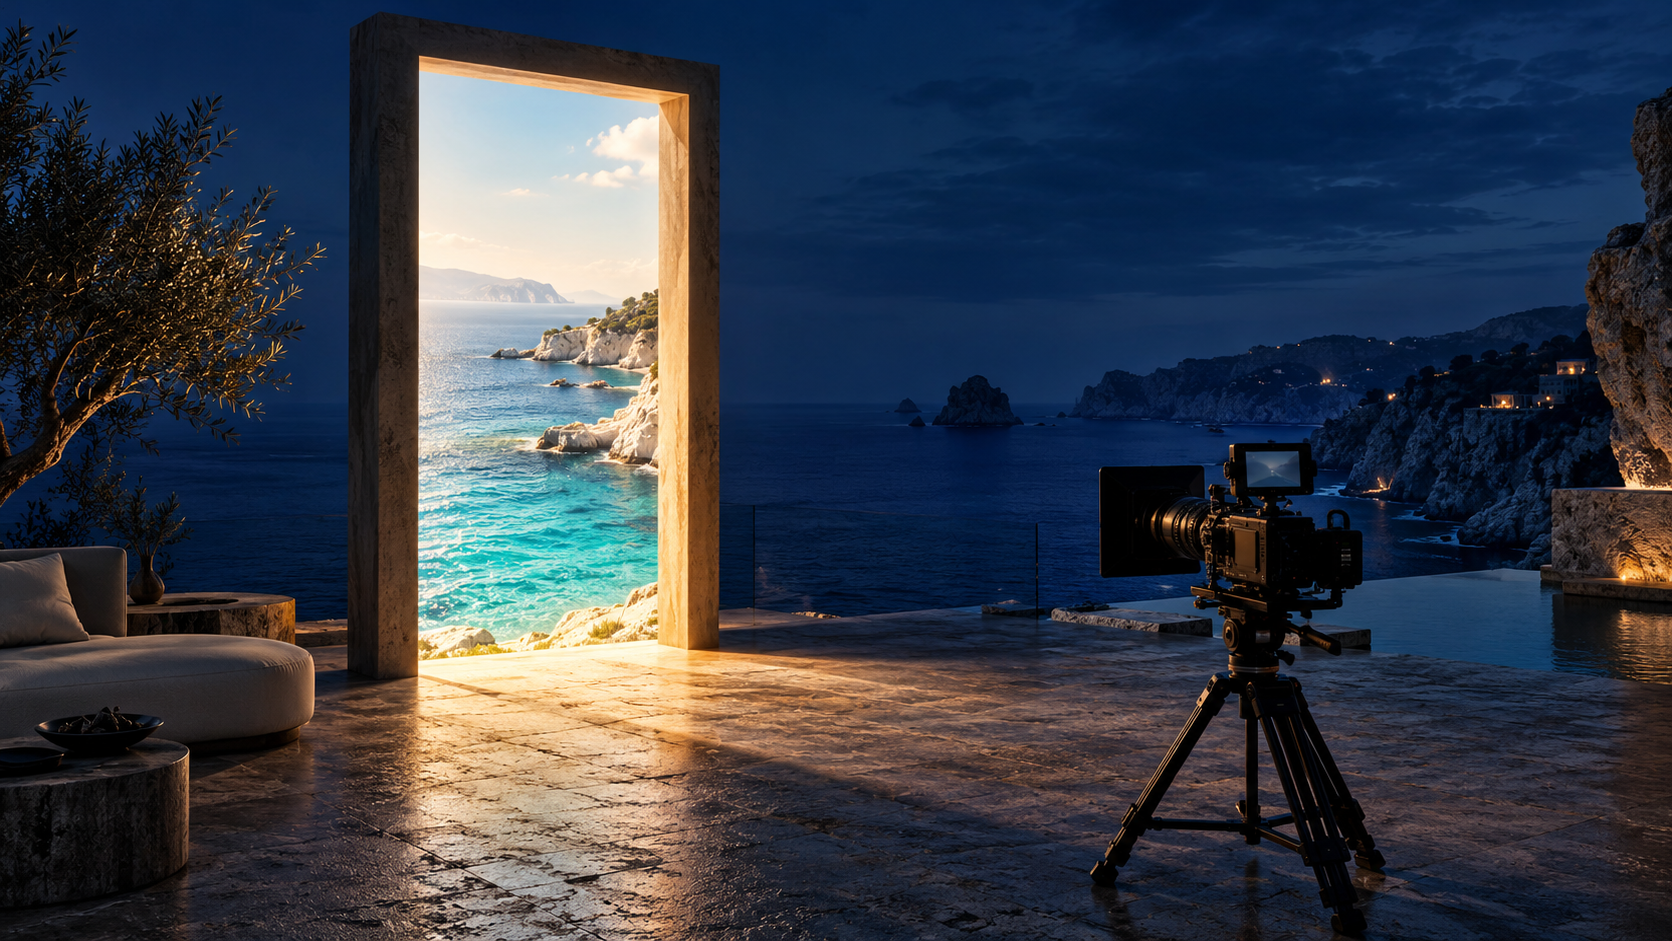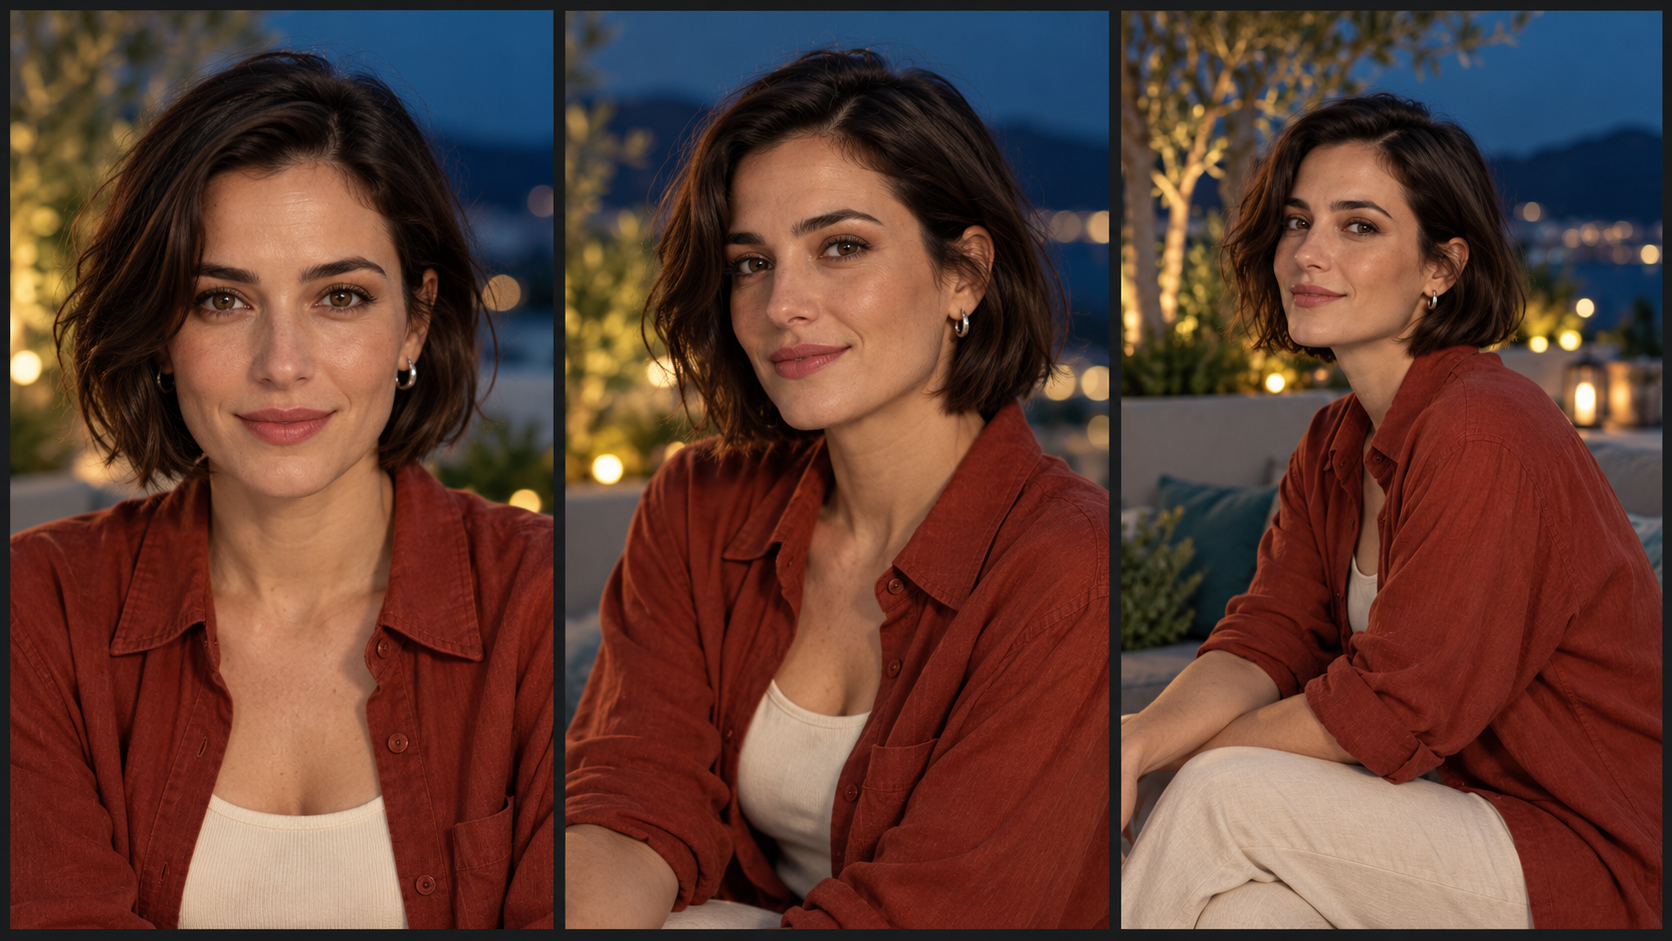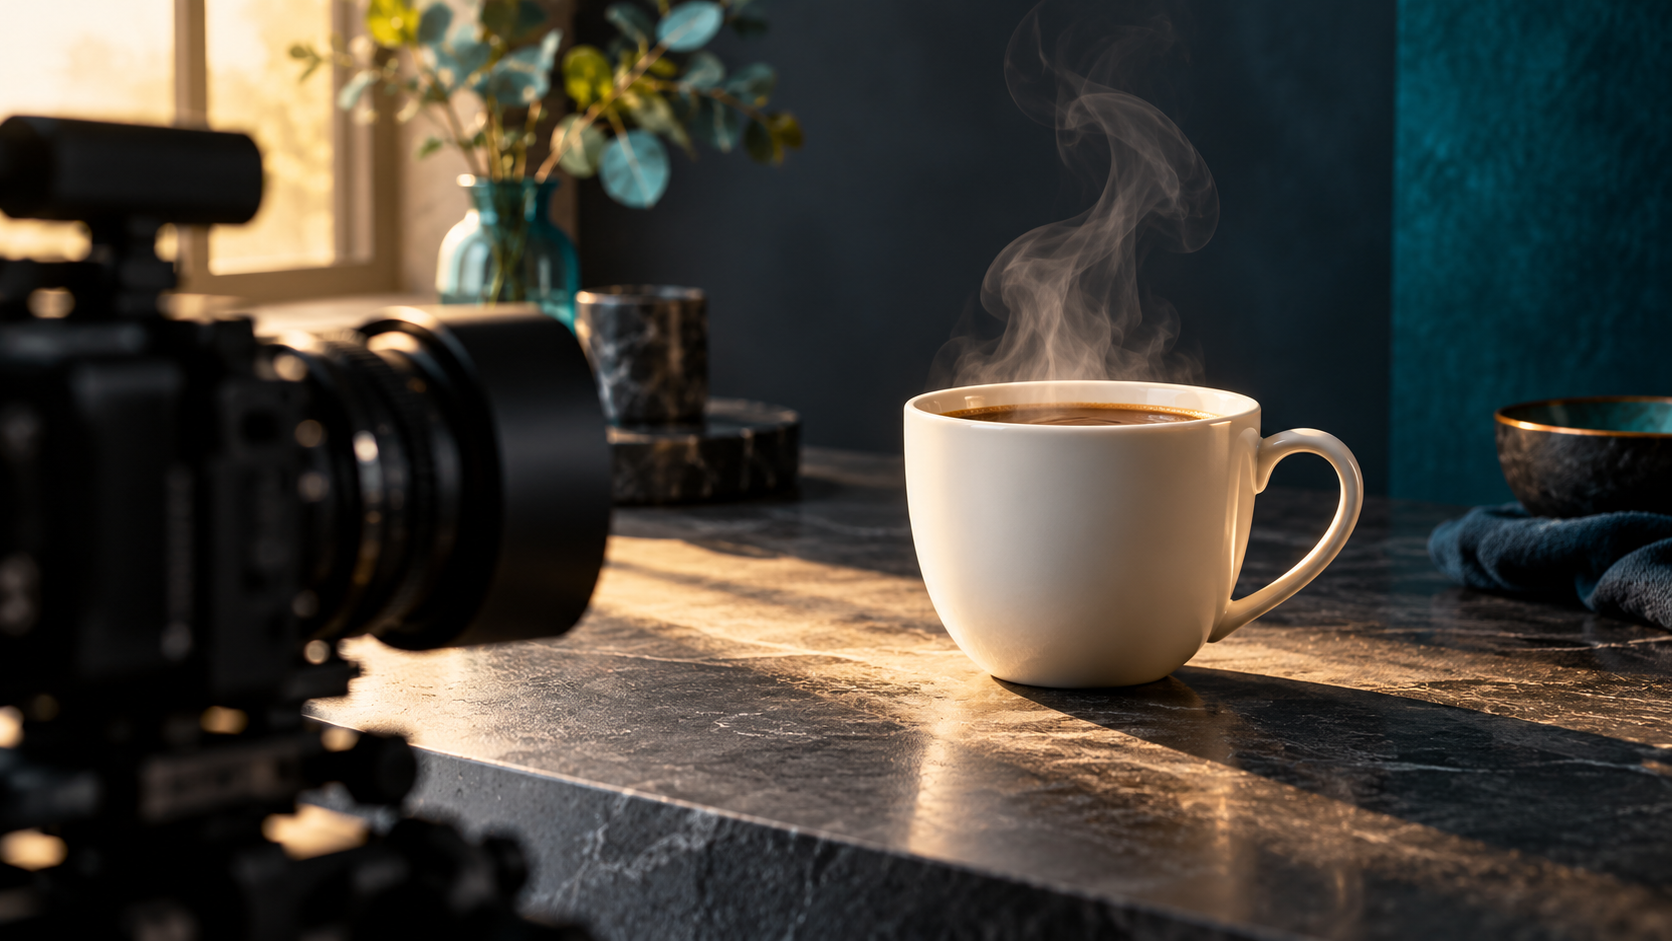
Describe something a camera could record. Give the subject an action, place it in a scene, choose the camera behavior, and say how the shot should end.
“Make it cinematic, beautiful, viral, and realistic” sounds ambitious, but it leaves most of the shot undecided. Who is on screen? What happens? Does the camera follow the subject or wait for them? A useful prompt resolves those choices so you can tell whether the result matches your idea.
Think of a prompt as a short production brief. You are describing the footage you want to receive. The aim is not to collect impressive adjectives. It is to make the important parts of the scene easy to understand.
Start with five decisions
| Decision | Question to answer | Example |
|---|---|---|
| Subject | Who or what is the shot about? | One person standing beside a window. |
| Action | What visible change happens? | They turn from the window toward the camera. |
| Setting | Where and when does it happen? | A quiet apartment in late afternoon. |
| Camera | What does the viewer see and how does it move? | A steady waist-up shot at eye level. |
| Ending | What usable moment completes the shot? | They settle facing the lens. |
Lighting and sound can follow those decisions. Include them when they matter to the scene and when the chosen model supports the relevant controls. Google’s Veo guidance similarly treats prompting as direction across elements such as the subject, action, scene, and camera. Exact syntax and available controls still depend on the model.
Match the prompt to your input
A text-to-video request needs to establish the scene. An image-to-video request already has visual information in its starting image. If you upload a sunlit room and then describe a dark rooftop without explaining a transformation, you have supplied two different opening scenes. Decide which one you actually want.
For image-to-video, use the photograph as your visual brief and spend your words on the action and camera. Runway’s documentation emphasizes this motion-focused approach. If you need a different outfit, background, or starting pose, consider preparing that image first or using a supported editing workflow rather than assuming every image-to-video tool will perform the change.
A wide, eye-level view of a quiet rooftop garden in the early morning. One person in a cream linen shirt walks slowly to the railing and pauses to look across the city. The camera remains steady. The leaves move lightly in the breeze, and the shot ends with the person resting both hands on the railing.
The person takes two small steps toward the railing and gently rests both hands on it. The camera maintains the opening framing. The leaves move softly in the breeze, while the city background stays consistent.
Replace vague instructions with visible choices
If a word is important to the brief, translate it into something the camera can show. “Luxury” could mean a quiet composition, restrained styling, and warm natural materials. “Funny” might mean a pause, a mistaken reaction, and a clear payoff. These are different creative directions; naming the mood alone does not choose between them.
- Instead of “dramatic,” try: the camera begins close to the hands, then slowly reveals the room.
- Instead of “natural,” try: the person shifts their weight, glances aside, and returns their attention to the camera.
- Instead of “high energy,” try: the dancer takes three quick steps, turns once, and finishes in a stable pose.
- Instead of “expensive-looking,” try: a restrained palette, uncluttered framing, and soft side light across textured materials.
Keep the action sequence readable
A short shot cannot comfortably carry every event in a story. Write the action as beginning, change, and ending. Read it aloud while imagining someone performing it. If it feels rushed, split the idea into two shots. Your edit can connect those shots more deliberately than a single overloaded prompt.
An eye-level close view of a closed ivory gift box on a dark wooden table. Two hands enter the frame and lift the lid slowly, revealing a small arrangement of blue flowers. The camera remains still and the entire box stays visible. After the reveal, the hands hold the lid steady for a brief final moment.
This prompt names a visible reveal and a useful ending. It does not promise exact frame timing or correct physics. Review the generated lid, fingers, and box edges before using the result. If the action fails, simplify the reveal or create separate closed-box and open-box shots.
Make revisions that teach you something
When a result misses the brief, name the problem before rewriting. “The camera moved too much” is a clear problem. “It looks wrong” is not yet a diagnosis. Keep the source and settings unchanged while you revise the camera instruction. Then compare the two versions for that one issue.
- Record the prompt and input used for each version.
- Write one sentence describing the failure.
- Change the part of the brief that addresses that failure.
- Compare the full clips, including the ending.
- Keep the revision only if it improves the goal without introducing a more serious problem.
A reusable prompt brief
[Shot size and camera position] of [subject] in [setting]. The subject [one clear action], then [a simple ending]. The camera [one movement or steady framing]. [Relevant lighting or environmental movement]. [Audio direction, only if supported].
Remove unused brackets and read the result as a natural instruction before submitting it. You can write a useful prompt in a few sentences. Add detail when it makes a specific decision clearer, not because a longer prompt feels more powerful. Save the successful brief as a starting point for your next idea.
Sources & further reading
Primary documentation behind the model-specific guidance:
How we create these guidesPut your creative brief to work.
Explore the current tools and inspiration on Yanora.
Explore Yanora