Find the first broken contact, start from a clear grip, and simplify to one action before changing the camera or adding a handoff.
A hand looks convincing in the opening frame, then a finger merges with a cup handle. Or the cup rises before the hand touches it. Treat these as specific continuity failures: identify the first broken moment, simplify the interaction, and review that moment again. Adding more adjectives about realism is less useful than deciding exactly what must stay connected.
1. Find the first broken moment
Watch the clip once at its intended playback speed. Then scrub through the interaction: approach, first touch, grip, lift, hold, and release. Write down the first frame where something becomes implausible. A deformed hand already present in the starting image calls for a different revision from a good hand that changes while lifting.
| Visible symptom | First revision to try |
|---|---|
| Fingers are malformed before motion starts | Repair or replace the input image before animating it. |
| Fingers merge into a handle during the lift | Start with an established grip and shorten the movement. |
| The object moves before contact | Begin after contact, or separate reaching and lifting into different shots. |
| The object changes size or shape | Use a clearer silhouette and a fixed viewing angle; remove the rotation. |
| A second hand appears during a handoff | Replace the handoff with separate placing and receiving shots. |
| Grip looks fine slowly but snaps at normal speed | Review neighboring frames and the motion transition, not just a selected still. |
These are editorial troubleshooting suggestions, not model benchmarks or guaranteed repairs. Record one visible defect at a time. For example, 'the handle detaches during the lift' is an actionable note; 'the video is bad' does not tell you which input or action to change.
2. Give the shot a readable starting image
For an image-to-video workflow, inspect the hand and object at full size before submitting the image. Look for a continuous cup rim, a handle with a clear opening, plausible finger placement, and enough wrist to understand the pose. Separate the object from the background with light or tonal contrast. A small, hidden grip leaves you with less visible evidence to evaluate.
- Choose one adult hand and one clearly outlined object for the first attempt.
- Use a three-quarter view that shows the grip and the object together.
- Prefer an established hold over fingers reaching around a concealed handle.
- Keep the full object and the important part of the wrist inside the frame.
- Reject a starting image with fused fingers, an impossible handle, or conflicting reflections.
Runway's Gen-4 documentation recommends clean input images, concise motion descriptions, and adding complexity gradually. It also recommends positive phrasing for that model. Those are model-specific documented recommendations, not evidence that Yanora currently offers Gen-4 or that another model uses identical controls.
3. Reduce the action before expanding the prompt
Consider this fictional brief: a person reaches for a green cup, lifts it, turns toward a friend, passes it across the table, and waves. That asks one short shot to preserve several contacts and poses. Keep the cup lift as the first shot. If a handoff matters to the story, plan it separately after you have a usable lift.
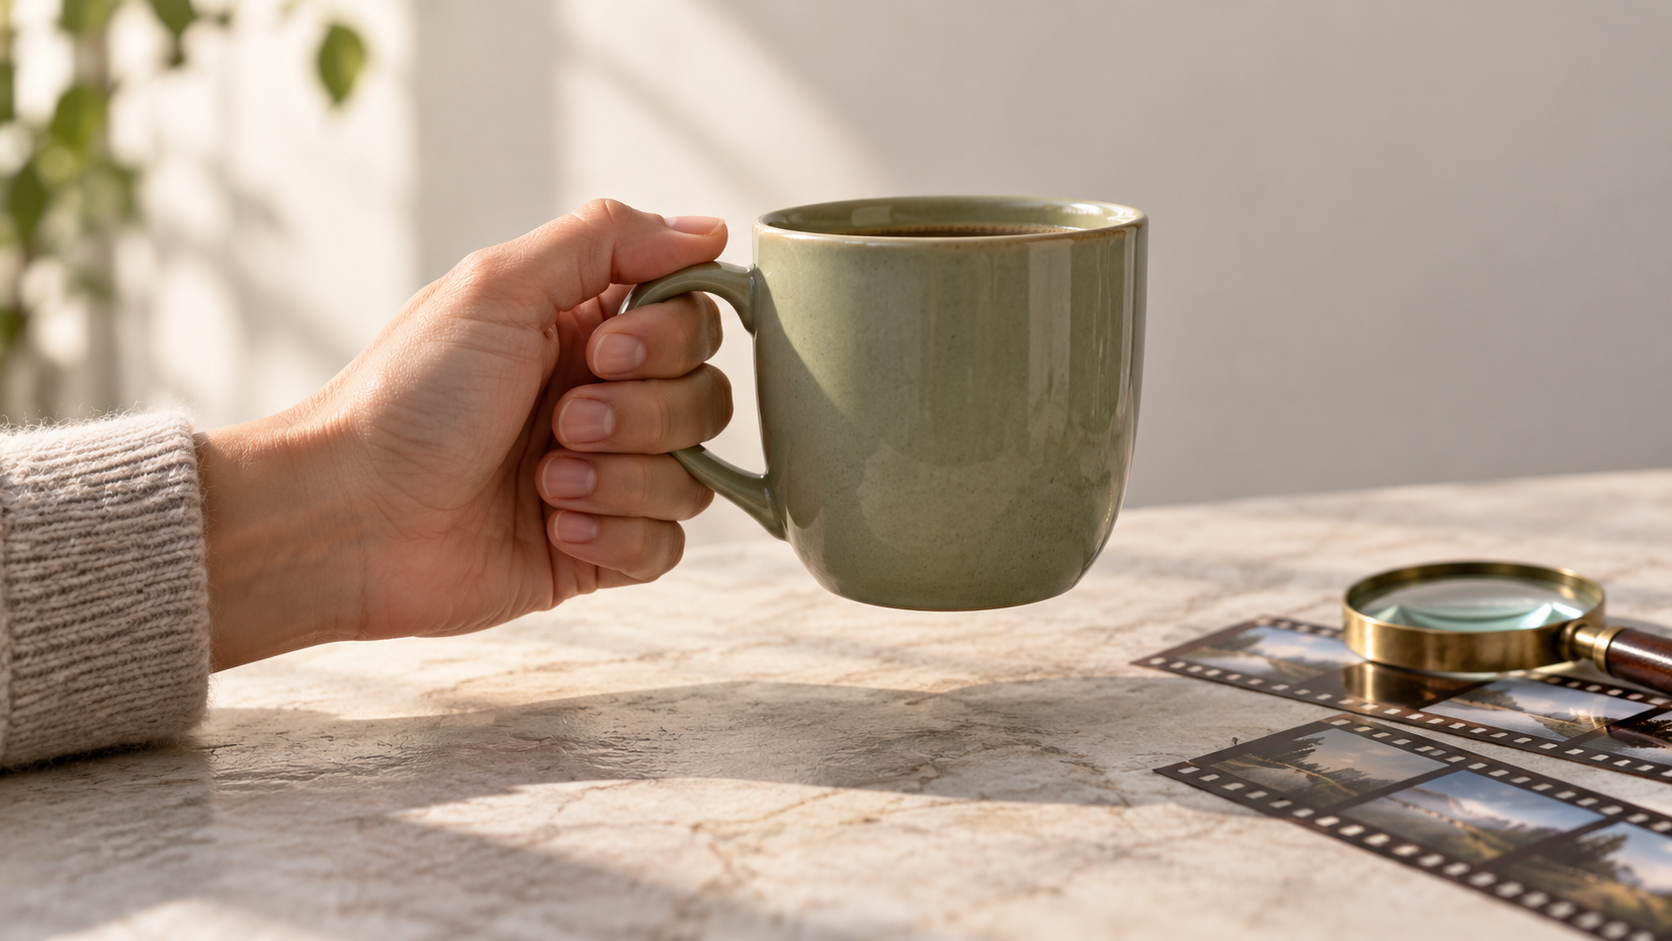
Medium close-up of a hand already holding the handle of the sage-green ceramic cup shown in the reference image. The hand slowly lifts the upright cup a short distance above the tabletop, then holds it still. The fingers maintain their established grip. The cup keeps its shape and orientation. Locked camera, soft steady window light.
Use this example only with an input that actually shows the described grip. Otherwise the prompt and image disagree. The short lift is a creative simplification, not a physical control parameter. If your model has separate duration or camera settings, follow its current documentation and keep those settings stable while comparing attempts.
Medium close-up of the hand holding the sage-green ceramic cup in the reference image. The hand and cup stay in their established position above the tabletop. A small wisp of steam rises from the cup. Locked camera, steady soft window light.
The alternative preserves the product moment while moving the action to steam. It still needs review: the cup can drift, steam can obscure the rim, and fingers can change even in a restrained shot. Keep only an effect that survives inspection.
4. Change one variable and keep a short log
Keep the input, model, format, and available settings unchanged while revising one instruction. Compare the baseline lift with a shorter lift before changing the camera or lighting. Save the prompt beside each result and note the first failure: 'grip separates halfway through' or 'cup rim changes near the end.' Repeated attempts are not proof that the next generation will work.
If the interaction keeps failing, change the shot design. Show the cup resting on the table, cut to an already established hold, then cut back after it is placed down. That edit implies the action without requiring one generation to solve every contact transition. The related guide, How to storyboard a short AI product video, develops this separate-shot approach.
5. Review before keeping the take
- Anatomy: do visible fingers and joints remain plausible through the whole shot?
- Contact: does the hand stay connected to the same part of the object?
- Shape: do the cup rim, handle, and proportions remain recognizable?
- Timing: does movement follow contact, and stop when the hand settles?
- Occlusion: do fingers pass in front of and behind the handle consistently?
- Framing: are the grip and object visible where the action matters?
- Playback: does the shot work at normal speed as well as during scrubbing?
- Ending: does the final hold stay stable long enough for your intended edit?
For a camera revision, use Camera movement prompts: when to pan, track, or push in before adding movement to a contact-heavy shot. Carry this action brief and checklist into Yanora as you explore its image and video creation options from the homepage. Check the selected tool's current inputs and availability before generating; this guide does not establish support for a particular model or reference control.
Sources & further reading
Primary documentation behind the model-specific guidance:
- Runway: Gen-4 Video Prompting Guide — input images, simplicity, and iteration ↗
- Yanora AI — current public image and video creation navigation ↗
Put your creative brief to work.
Explore the current tools and inspiration on Yanora.
Explore Yanora